My decision to build a travel trailer was for the most part based on two things.
1. I am turning 40 this year, I am not sure that this pleases me but I want to have a really fun long vacation
2. I have always loved the vintage canned ham style trailers but would like something smaller, such as a
teardrop. so I combined the two to make a hamdrop.
I don't have a huge shop or a huge garage so I decided to use a trailer that I could bolt together rather than weld. I opted for the Harbor Freight 1100 lb 4' x 8' utility trailer. It comes in two boxes and weighs approximately 250 lbs. weight is a major concern as my new car has only 4 cylinders and a towing capacity of 1500 lbs.
I found loads of information all over the web. one site had a bunch of side profiles. this is the one that I chose. I really like the curves. but instead of having the wheels on the outside like a tear drop, I want mine to be wider like a canned ham, so I made it wider. Done.
Marked the points on some 1/4" plywood and cut it out. I used some welding rod and some thumb tacks in the wood to make the curves. then marked them with a pencil. The weather outside was terrible so I built lots of it inside, on the kitchen table.
both front and back profiles cut out and some of the 3/4" framing cut out and glued up.
I used 3/4" sanded plywood coated with RV roof sealant for the trailer bottom. these will be flipped over and bolted onto the trailer.
This trailer being C channel slipped inside a larger C channel I had to find something to space it so that they would be the same height. I used some rubber floor to wall molding cut into strips. and glued on with contact cement.
I guess I didn't take as many pictures as I remembered. so, at this point. both walls are assembled and notched for the spars. I put some aluminum flashing between the deck of the trailer and the walls. It will protect the bottom of the walls from moisture and debris and will be wrapped around to the outside before the outside aluminum skin goes on. there is some silicone between the aluminum and the deck for a further seal.
another side view. shortly after this I decided that I would move the trailer into the garage so that any humidity and rain wouldn't make the wood grain swell.
Of course I couldn't get anything done without some help. this kid comes prepared with his own tools, safety equipment and a can do attitude ;)
There it is in the garage next to the MiataGB GT (something else that I should probably create a blog for). The motorcycle has been sold to help pay down tuition. A hard decision to make but necessary.
Glued in the first piece of interior birch 1/8" plywood. this felt really good, as it now looks more like a trailer.
A few more days of pics missed. the interior ceiling is in and the insulation is in. the first exterior sheet of roofing is on. 1/8" masonite
Ceiling cut out for the fan.I used the jigsaw on the inside and the router on the outside. I won't try it with a jigsaw again.
Outside insulated and just about ready for 1/4" plywood. Something I didn't take pictures of is the wiring. there is wiring for two switches, one for the fan and another for the lights. I can't find anything that I like in a 12 volt application so I ordered some sockets and L.E.D. bulbs and I'll just build my own. something retro-futuristic.
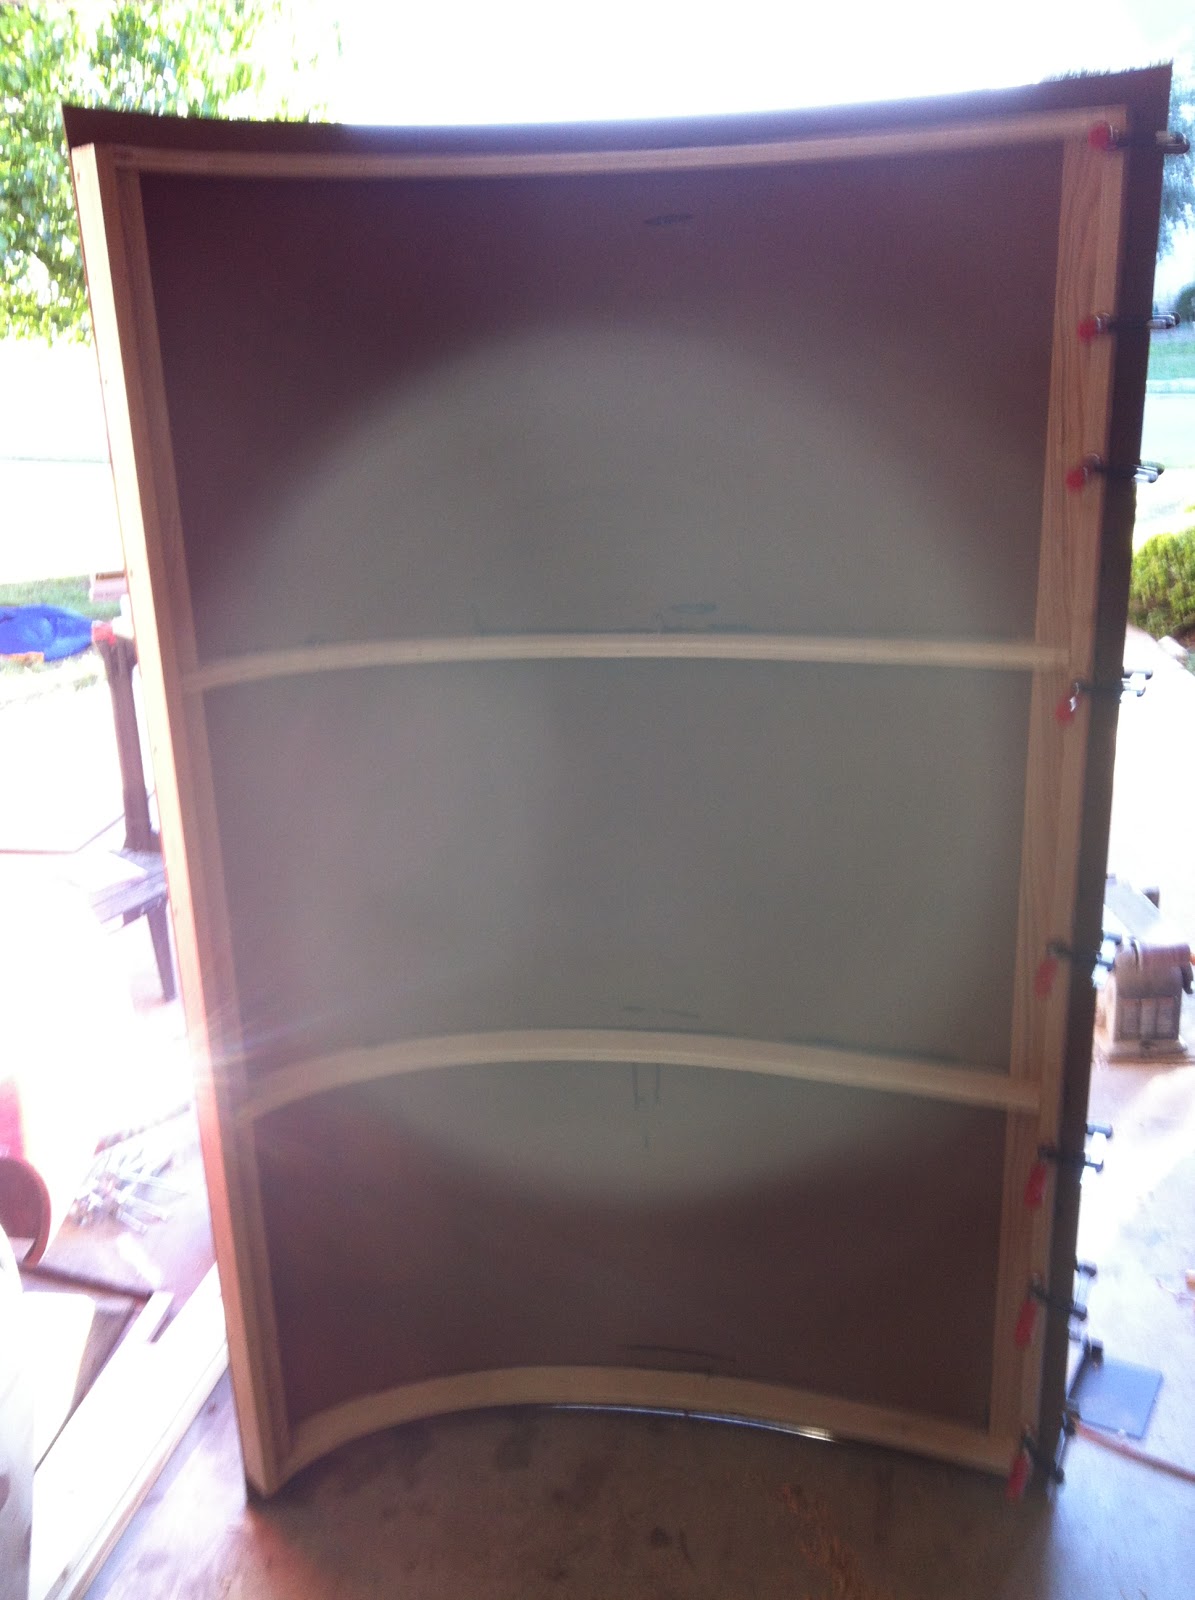
Another piece of Masonite installed. the straps hold the pieces on to maintain the curves while the glue cures.
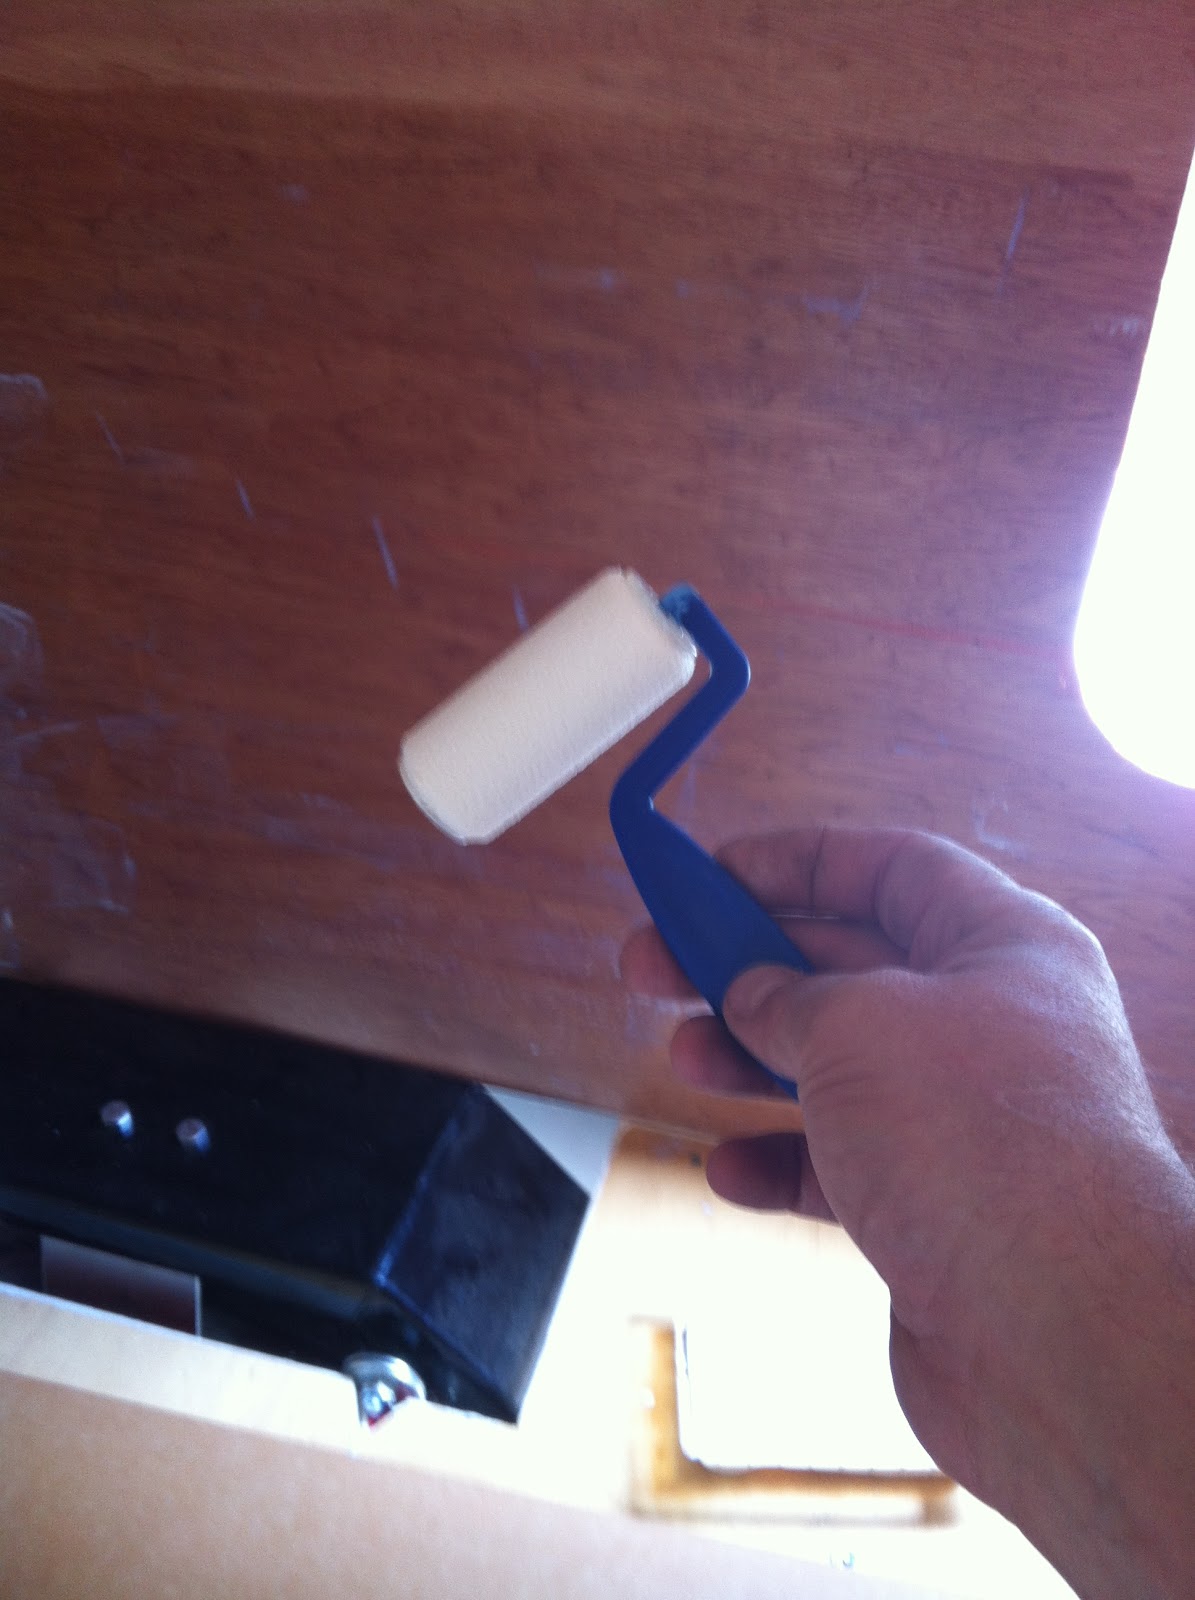
First sheet of plywood on the side. I decided to attach it and then use the router to cut off any excess. it worked so well I can't imagine doing it any other way.
Sierra posing with our vacation home.
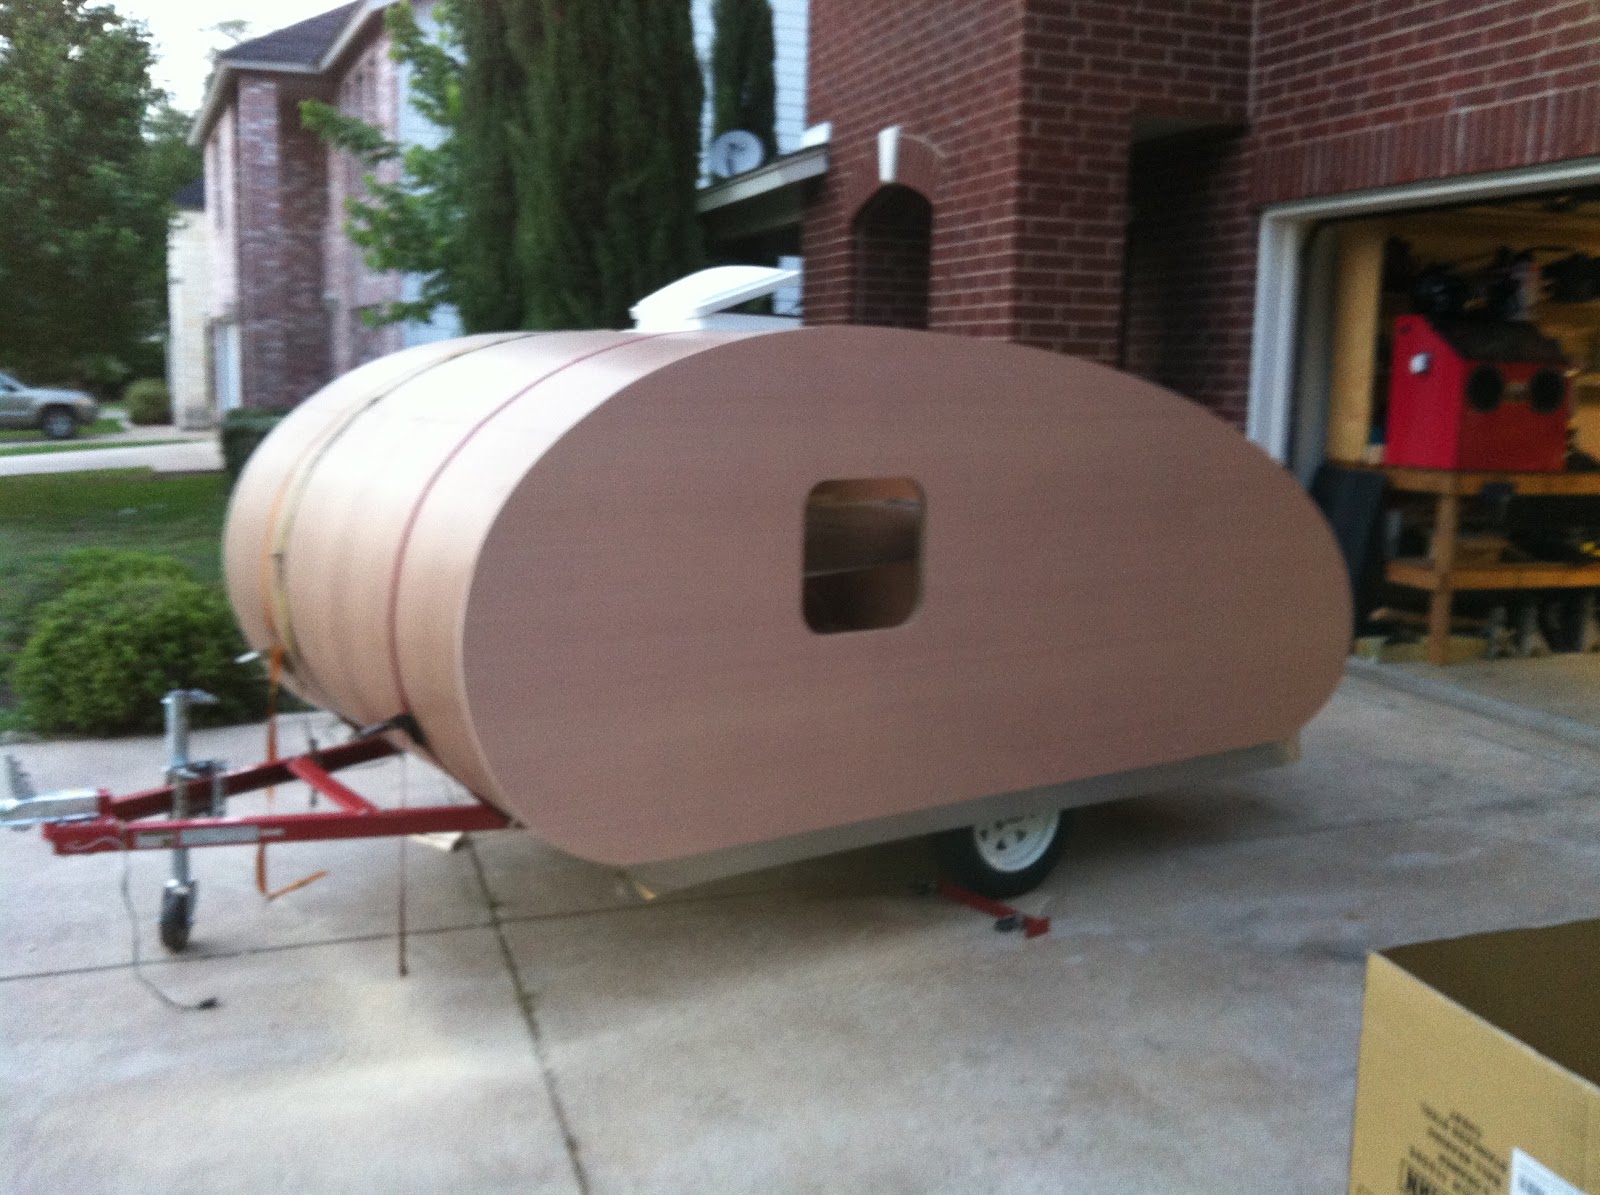
A few hundred staples and lots of glue, and the other side is on. Seeing it like this made me think of some of the old Canned Ham style trailers having fins on the back top area and now I'm wondering if I should do something like that.
 |
| Wings similar to this? |
|
Ten minutes later, it's routed and looking very cool. In my opinion.
Trial fit of the window. Perfect!


